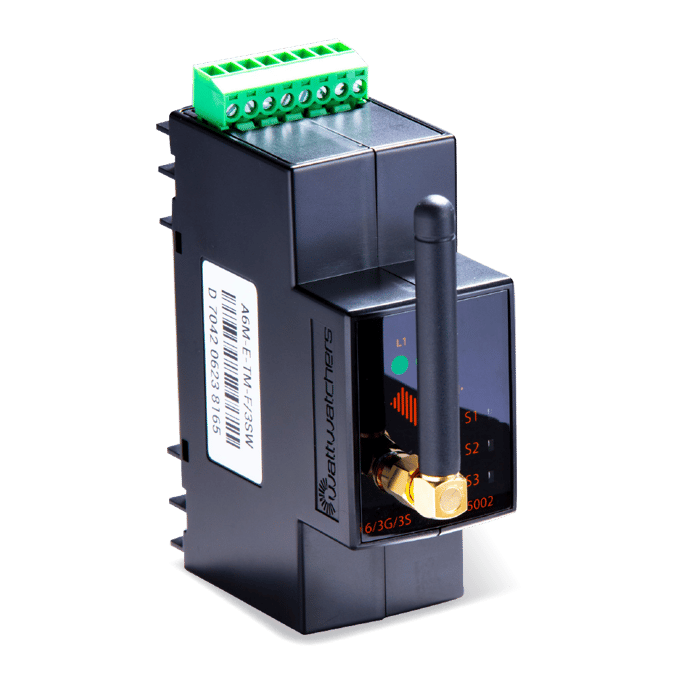
Simple steps for electrical installers to get started with the Auditor 6M
If Wattwatchers technology is new to you, get the overview here. The following information is for installation of cellular-communicating Auditor 6M (monitoring-only) and 6M+3SW (monitoring + switching) devices.
Wattwatchers hardware is used in conjunction with Wattwatchers applications. Below are the five simple steps to get started on installing the 6M or 6M+3SW.

- Request a Wattwatchers onboarding account
- Download the 6M Quick Start Guide
- Find the wiring diagram for your job
- Follow detailed instructions for inverter disconnect configurations (if relevant)
- Read the top pro-tips for installation
1. Request a Wattwatchers onboarding account before attending site
The Wattwatchers onboarding tool is required to configure and commission Auditor devices.
Tip: Request Wattwatchers software accounts well before attending site and avoid impacts to installation time
2. Download the 6M Quick Start Guide
Download the 6M Quick Start Guide.
If you are working with the Auditor 6M+3SW, also download the Switching Quick Start Guide.
This video provides a step-by-step guide on how to install the base model Auditor 6 for single-phase application (no switching or Modbus).
3. Find the wiring diagrams for your job
Here are some common wiring diagrams:
📎 Three phase - Solar and Grid
Find the complete list of 6M wiring diagrams here
4. Get detailed instructions for inverter disconnect configurations
If you are using the Auditor 6M+3SW for inverter disconnect refer to the Application Notes for connection methods on each inverter type.
5. Read the top tips for installation
If you'd like more detail on the tips below click into the article.
✅Use the onboarding application while you are onsiteCheck and correct on the spot. This will help ensure your customer is off to a great start and you'll avoid having to make multiple visits!
✅Apply the silver serial number label
The silver serial number label helps us support you and must be applied somewhere visible once installation is complete, such as on the face of the Auditor or on the rail near the Auditor.
✅Always check signal strength and fit an antenna when required.
To ensure the Auditor performs as it should, use onboarding to check signal strength when you're onsite. Fit an extended-range external antenna when required.
✅Mark CT's and cables with white and black markers
When you're routing up to six CT cables through boards and conduits, you can save time and increase your precision by marking cables and CT's as you go.
View all of the tips here
